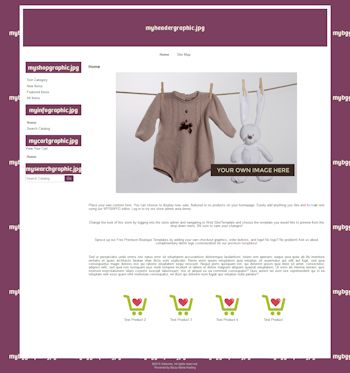
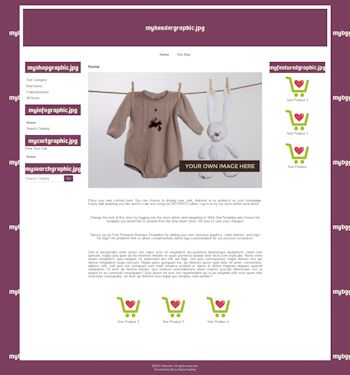
We are so excited to announce the release of a brand new, easy to use, do it yourself boutique website template! Our *NEW* Mobile Responsive DIY Boutique Website Template was built with easy customization in mind! Simply create your graphics, save them in the file name structure as explained in our DIY template customization instructions and upload them into your store admin. That's it! If you can create your own graphics, you can create your own Bizzy Boutique website template! And best of all- it's FREE!
Our *NEW* Mobile Responsive DIY Template comes in both 2 and 3 column layout styles:


NOTE: You will have to know how to create your own graphics to customize your DIY template. If you are unsure how to create your own graphics, you may be able to find a graphic designer who can create them for you. Bizzy Mama Hosting does not currently offer graphic design services.
Please open a ticket to have your Mobile Responsive DIY Template installed.
Step 1:
Create your website graphics using your favorite graphics creator. If you don't have one, try GIMP- it's a free download! Graphic sizes listed below are suggestions. Your graphics can be smaller or larger, but keep in mind that very large images may alter the look and function of your store. Play around with a few different sizes to get the look you are wanting. (IMPORTANT: Your images MUST be named the same as the images below (ie: your header graphic must be named "myheadergraphic.jpg) in order for them to work on the DIY template. Your images will be loaded directly from the store admin in the web site/images/view images/load image area.)
You will need the following graphics to complete your DIY template:
myheadergraphic.jpg - this will be your logo/header graphic and will link to your homepage from every page of your store. (no larger than 850x280 pixels)
mybggraphic.jpg - this graphic should be a seamless image. It will become your tiled background. (250x250 pixels- seamless!)
myshopgraphic.jpg - this is the first sidebar graphic, most people use "shop", but others prefer "categories" or "services"- feel free to use any term you'd like, but be sure to save the file correctly. (no larger than 250x100 pixels)
myinfographic.jpg - this is the second sidebar heading graphic. Most clients use this area to list site pages and additional important information. (no larger than 250x100 pixels)
mycartgraphic.jpg - this is the third sidebar heading graphic. The "View Your Cart" link has been hard coded into this area for you. (no larger than 250x100 pixels)
mysearchgraphic.jpg - this is the fourth and final sidebar heading graphic. The search box has been hard coded into this area for you. (no larger than 250x100 pixels)
myfeaturedgraphic.jpg - this is your sidebar "featured" graphic in the 3 column layout (no larger than 250x100 pixels)
Step 2:
Log into your store admin area and navigate to "Images" (under "Web Site"). Upload each of the graphics above that you have created for your DIY template.
Step 3:
Navigate to "Template" (under "Web Site") and choose "bmhdiytemplate" from the drop down menu. Save your changes.
Step 4:
Navigate to "Fonts and Colors" (under "Administration") and edit the preset options to your preferred font type, sizes and colors. Save your changes.
Step 5: (optional)
Navigate to Images/Catalog Images/Update in your store admin and upload your own cart button, search button, add to registry button and more to further customize your own DIY template.
Step 6: (required)
Enjoy your newly designed store and pat yourself on the back- you just designed your own website! Congrats!
Page Grouping Settings:
Page Group 1 - Header Navigation
Page Group 2 - Info Sidebar
Site Message:
Has been placed in the sidebar, at the bottom. You can place a site message, or some html here. A lot of clients like to place their facebook icons in this area.

